REVIEW · VENICE
Photography workshop in the magical Venice (3h)
Book on Viator →Operated by Andrea Zavagnin · Bookable on Viator
Venice looks different through a camera lens. This Venice photography workshop is led by Andrea Zavagnin and focuses on practical street and architecture skills as you walk the city from Santa Lucia toward Rialto and finish at Piazza San Marco.
I like that Andrea starts by figuring out your camera experience, then shapes the coaching as you go. A small group size (max 8) also means you’re not just tagging along; you get hands-on feedback. One drawback: the workshop does not provide photography gear, so you’ll need your own camera (though Andrea brings a tripod).
In This Review
- Key things I’d plan around
- Why Santa Lucia to San Marco is a smart photo route
- Meeting Andrea: coaching that starts with your camera
- The practical street photography part (not just pretty views)
- Architecture photography: using buildings and bridges as your classroom
- Walking stops that matter: Santa Lucia, Rialto, and Piazza San Marco
- Stazione di Venezia Santa Lucia: start with control
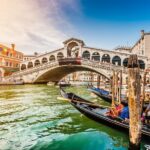
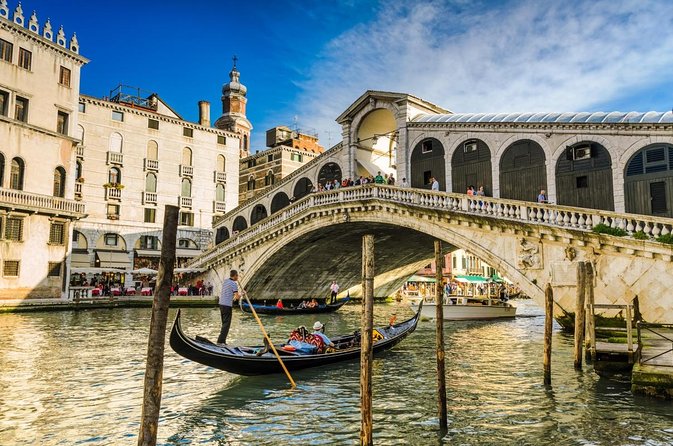
- Rialto: streets and structure in the same frame
- Piazza San Marco: finish with bigger composition choices
- What’s included, what you bring, and why it matters
- Price and value for a 3-hour Venice photography workshop
- Who should book this (and who might skip it)
- Practical notes for a smooth Venice day
- Should you book this Venice photography workshop?
- FAQ
- Where does the workshop start?
- Where does the workshop end?
- How long is the Venice photography workshop?
- How much does it cost?
- What photography equipment is included?
- Do I need to bring my own camera?
- How many people are in the group?
- Is good weather required?
- Can children participate for free?
- Is there an access fee in Venice on some days?
- What is the cancellation policy?
Key things I’d plan around
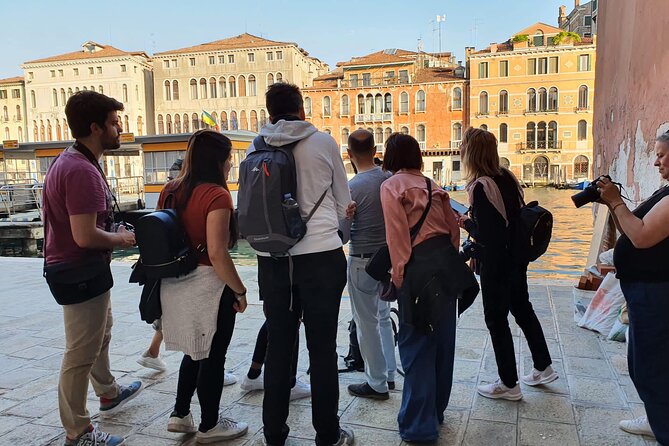
- Small group size (max 8) means more time for your questions and your camera setup
- Andrea Zavagnin personalizes instruction after he asks about your skills and experience
- You practice while walking from Santa Lucia to Rialto and ending near Piazza San Marco
- Street + architecture is the core theme, using Venice as your training ground
- Andrea brings a tripod, but you still need your own camera and lenses
Why Santa Lucia to San Marco is a smart photo route
Venice is all angles. That’s true even when you think you’re just sightseeing. The best part of this workshop is that it uses a real walking path with real visual variety, so your photos improve because you’re practicing across different scenes instead of doing one fixed stop.
You start at Stazione di Venezia Santa Lucia. From there, you walk toward Rialto, then you finish at Piazza San Marco. That progression matters because your eye learns to handle different kinds of subjects: streets and people energy earlier on, then more landmark-scale architecture and composition as you approach the main square.
Also, this route is practical. You’re not crisscrossing the city. You’re moving in a single direction with enough stops and moments to try techniques repeatedly instead of only once.
You can also read our reviews of more photography tours in Venice
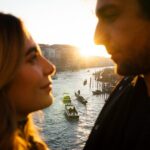
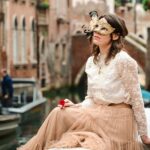
Meeting Andrea: coaching that starts with your camera
Andrea Zavagnin leads the workshop, and the teaching style is built for different skill levels. The key detail is that he asks questions to understand your experience with your camera, then adjusts his guidance to match what you can actually do right now.
That approach is more useful than generic tips. If you show up knowing basics, you’ll get better ways to push your images. If you’re still learning, you’ll get the step-by-step order of operations. Either way, you’re not stuck watching someone else’s process.
One specific focus that comes up in the workshop format is getting out of full auto. You’ll work on using your camera settings to shape the photo, plus learning how to compose your shots with intention. Expect feedback that’s tied to what you’re photographing in the moment, not just theory.
And because the group is capped at 8, the session stays interactive. You can ask, try a change, and see the effect quickly.
The practical street photography part (not just pretty views)
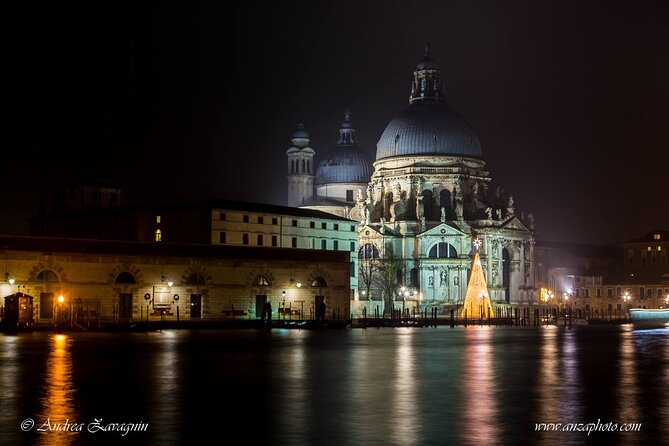
Street photography in Venice can be tricky. People move fast. Light changes constantly. And the city’s details tempt you to shoot everything at once. This workshop helps you slow down just enough to make choices.
When you’re doing street photography here, you’re really practicing three things: timing, framing, and decision-making. You’re walking through Venice, so you can keep your camera up and ready without treating every shot like a separate expedition.
You’ll likely experiment with angles and composition while you’re moving through the city’s lanes and crossings. That’s the difference between reading about street photos and actually producing them. Each time you stop to adjust settings or framing, you train your eye to spot strong compositions even in ordinary corners.
One thing I’d keep in mind: Venice crowds can make street scenes chaotic. That doesn’t mean you can’t get good results. It means you should learn how to isolate your subject—using lines, edges, and layered backgrounds—so your photo has a clear focus.
Architecture photography: using buildings and bridges as your classroom
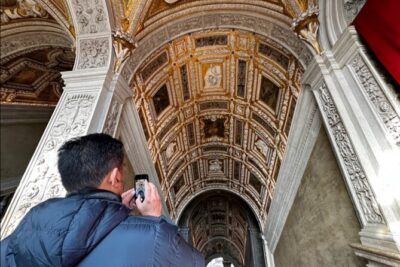
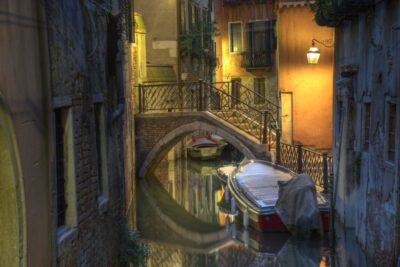
Venice’s architecture is made for photography. Not because everything is perfect, but because the city gives you lots of verticals, curves, and repeating patterns. In this workshop, architecture techniques are part of the plan, and you use Venice itself as the teaching tool.
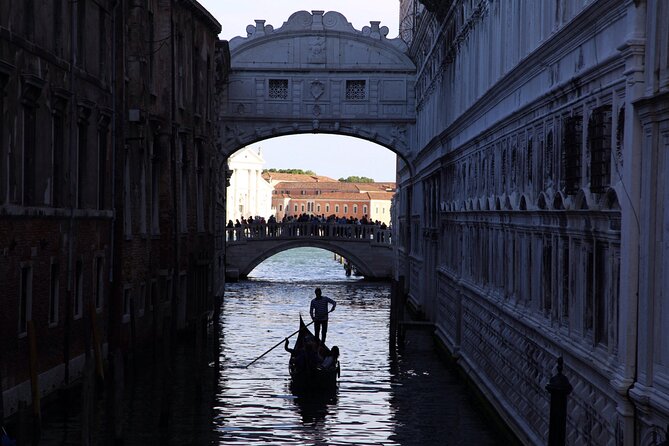
As you walk toward Rialto and then toward Piazza San Marco, you get more opportunities to work on structure-based images. That includes composing shots around façades, aligning elements to create order, and using the space around buildings to guide the viewer’s eye.
If you tend to photograph landmarks from the widest possible viewpoint, this is a chance to tighten your approach. Instead of always going for the postcard angle, you’ll practice selecting an angle that highlights geometry and texture—while still keeping Venice recognizable.
A practical advantage here is that you’re learning in motion. You’re not waiting for one perfect spot. You’re learning to see where the lines lead as you approach, turn, and step into a new frame.
Walking stops that matter: Santa Lucia, Rialto, and Piazza San Marco
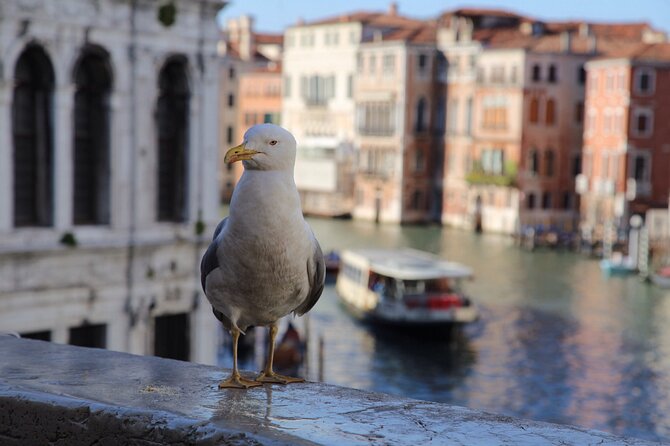
The workshop is built around a simple flow, but each location helps you practice a different kind of shot.
You can also read our reviews of more tours and experiences in Venice





Stazione di Venezia Santa Lucia: start with control
Santa Lucia is a strong starting point because it gets you focused before you hit the densest tourist zones. Use this early stage to dial in your camera basics and your mental checklist: what’s your subject, what’s your framing plan, and what settings are you relying on?
This is also where you can get early guidance from Andrea. If you’re unsure how your camera works beyond auto, starting at a transit hub helps because you can test quickly—then move on with confidence.
Rialto: streets and structure in the same frame
Rialto is a natural pivot from street energy to architecture thinking. This is where you can test how well you translate what you learned earlier (street framing, subject focus) into buildings and crossings.
Venice near Rialto tends to offer lots of edges and layered perspectives. That’s excellent training material for composition—because even small changes in your position can shift the whole picture.
Piazza San Marco: finish with bigger composition choices
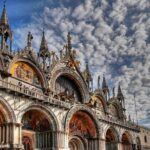
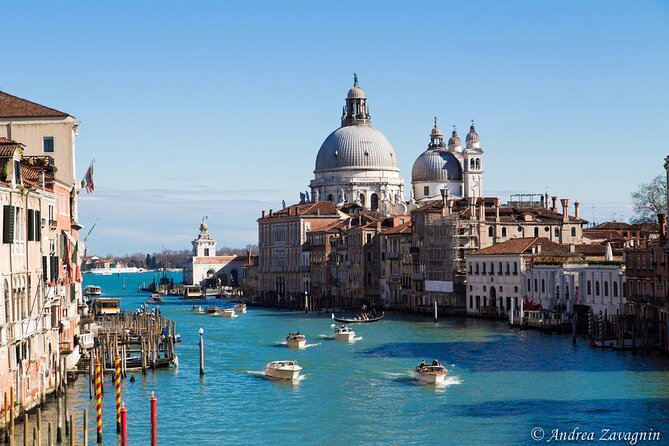
The workshop ends at Piazza San Marco. Finishing here is smart because the space pushes you to think about composition at a larger scale.
Instead of just photographing a single detail, you’ll practice seeing how multiple elements work together: architecture lines, open space, and the overall layout. Even if your photos are still close-up or detail-based, you’re finishing with a stronger sense of how to frame the city’s scale.
What’s included, what you bring, and why it matters
This workshop is light on gear—on purpose. Andrea brings a tripod. That helps if you want sharper images, more stable framing, or longer shutter experiments when the light allows it.
But no photography equipment is provided. You’ll need to bring your own camera and any lenses you plan to use. That means you should show up with the basics you know how to handle. If you have a zoom lens, bring it. If you’re comfortable with a prime, bring that too. The workshop isn’t a rental gear situation; it’s a coaching situation.
If you’re wondering whether a tripod is required: it’s not a hard requirement for enjoying the workshop, but having one (even Andrea’s) can help you try steadier compositions. If you already own one, you might prefer using your own to match your setup and familiarity.
Group size (max 8) and the fact that Andrea is bringing support like a tripod makes the session feel hands-on without becoming a big production.
Price and value for a 3-hour Venice photography workshop
The price is $162.06 per person, and the timing is about 3 hours (though the length can run longer in some cases, depending on how the coaching flows).
Here’s how I’d judge the value. You’re paying for three things: an expert guide who understands cameras, a walking route that doubles as practice time, and feedback that’s tailored to your current level. In a city like Venice, where you can easily spend a day chasing viewpoints, this kind of instruction is what turns sightseeing into skills.
The fact that Andrea adjusts based on your camera experience is a big value point. People often pay for photography tours that assume you already know your settings. Here, you’re less likely to feel lost or stuck. You’ll also get small-group attention, which is hard to replicate on your own.
One more value note: Venice can have extra access rules on certain days. If you’re visiting from outside the city for the day, you may need to pay a €5 access fee on specific dates. Check the schedule on https://cda.ve.it so you’re not surprised.
Who should book this (and who might skip it)
This is a great fit if you:
- want street and architecture photography guidance in one session
- enjoy learning by doing, not just listening
- want a guided walk that ends at major Venice landmarks
- can bring your own camera and feel ready to practice settings and composition
It’s also a nice option if you’re traveling with someone who’s at a different skill level. Andrea asks questions and can adjust, so you’re not stuck with one teaching pace.
Children and teens up to 13 can participate for free. You do need to message the guide with the number and ages of kids so they’re included correctly.
You might skip this if:
- you don’t have a camera you can confidently use (since no equipment is provided)
- you’re hoping for a purely casual photo walk with zero settings talk
Practical notes for a smooth Venice day
Venice has two big variables: weather and timing. This workshop requires good weather. If it’s canceled due to poor weather, you’ll be offered a different date or a full refund. Plan to check the day-of conditions and keep your schedule flexible if you can.
You also start near major transit: Stazione di Venezia Santa Lucia. That’s helpful if you’re coming from other parts of Italy. It also makes it easier to build the rest of your day around the workshop.
You’ll receive confirmation at booking time. The activity uses a mobile ticket, so have it ready on your phone.
Service animals are allowed, and the tour is listed as near public transportation. The group is kept small, max 8, so you’ll be moving as a compact group rather than a long line.
Should you book this Venice photography workshop?
Yes—if you want photos that look more intentional, and you’re ready to practice while walking. I like that the session isn’t only about what to photograph. It’s about how to photograph: choosing settings, composing with purpose, and learning to see street and architecture shots in the same workflow.
Be sure you’re comfortable bringing your own camera, because the workshop won’t hand you gear. If you do have the gear, this is a strong way to turn Venice into a live classroom: you get coached, you try, you adjust, and you finish in the part of Venice where composition decisions matter most.
If you’re the type who loves technical improvement but still wants a real city walk, this workshop hits that sweet spot.
FAQ
Where does the workshop start?
It starts at Stazione di Venezia Santa Lucia, 30121 Venice, Metropolitan City of Venice, Italy.
Where does the workshop end?
It ends back at the meeting point.
How long is the Venice photography workshop?
It runs for about 3 hours.
How much does it cost?
It costs $162.06 per person.
What photography equipment is included?
Andrea brings a tripod.
Do I need to bring my own camera?
Yes. No photography equipment is provided, so you must bring your own equipment.
How many people are in the group?
The group is limited to a maximum of 8 travelers.
Is good weather required?
Yes. The workshop requires good weather, and if it’s canceled due to poor weather, you’ll be offered another date or a full refund.
Can children participate for free?
Children and teenagers up to 13 years old can participate for free, but you must notify the guide by message with the number of children and their ages.
Is there an access fee in Venice on some days?
On certain dates, visitors planning to visit for the day and staying outside Venice may be required to pay a €5 access fee. You can find the applicable days and exemptions at https://cda.ve.it.
What is the cancellation policy?
Free cancellation is available. You can cancel up to 24 hours in advance for a full refund. If you cancel less than 24 hours before the start time, the amount paid is not refunded.